(2 minute read)
If you’re looking for general-purpose computing with WebGL (specifically BLAS stuff) check out the amazing weblas library. This post is a bit old, and at the time using WebGL for general-purpose computing seemed like a painful dirty hack.
WebGL for general-purpose computing sounded like a good idea at first. Simply send data to the GPU as textures and perform the calculations there. Browsers can handle it, and very few people seemed to be doing this.
Turns out people weren’t doing this for several reasons, the main one being: weak support for float texture values. There’s an extension called oes_texture_float, which helps a lot, but it’s still a bit clumsy.
So if you’re not using oes_texture_float and want to to send float data to the shaders, the data has to be RGBA-encoded into a texture (on the JavaScript side), sent to the WebGL side and once there, decoded back into floats. Ouch. Not to mention reading back the float results on the JS side, which can also be painful.
Here’s an overview of 2 methods that do all of the above. Some issues are: performance bottlenecks, additional JavaScript and GLSL code, and errors associated with the float / RGBA conversions.
What about image processing and computer vision? The images / video frames can be processed by WebGL as regular textures, no need for float / RGBA conversions. It seemed like a better idea, and there were already a couple of cool projects using this approach (eg: webcam toy and glfx.js).
So I decided to do something along those lines and started working on NumGL - a WebGL image / video processing library. Here’s a couple of things you can do with it.
Greyscaling

The NumGL code for this effect is:
// "image" is the <img> tag ID.
var imageId = numgl.store_picture("image");

numgl.show_canvas(imageId)
numgl.grey(imageId);
numgl.do_it();
To apply this or any of the following effects on video / webcam, simply change the store_picture() function to store_video() and store_webcam(), respectively. Fiddle around with this code here:
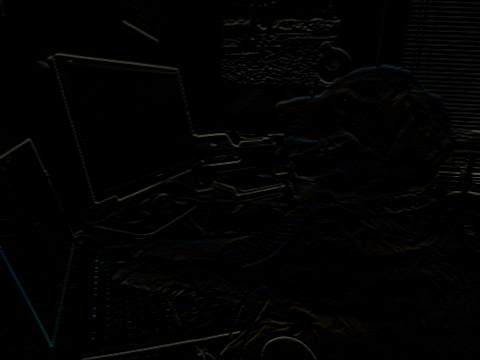
Convolution kernel

Apply a convolution kernel to an image, video or webcam. The code is identical to the above example, just replace the numgl.grey() call with
// Apply convolution kernel to the stored image.
numgl.convolution(imageId, [-1,-1,-1,0,0,0,1,1,1]);
where the array [-1,-1,-1,0,0,0,1,1,1] corresponds to the following kernel
$$\begin{bmatrix}-1 & -1 & -1\\0 & 0 & 0\\1 & 1 & 1\end{bmatrix}$$JS Fiddle with it:
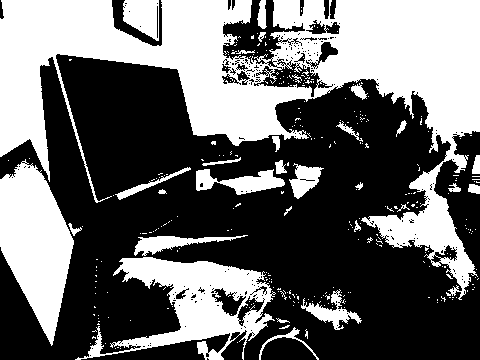
Thresholding

The function call is
// Threshold the stored image.
numgl.threshold(imageId, 80);
where 80 is the threshold value. JS Fiddles:
TL;DR
WebGL does image processing and computer vision stuff with ease and speed. NumGL is a WebGL image / video processing library. Fork me on Github. Also check it out for additional docs and examples.